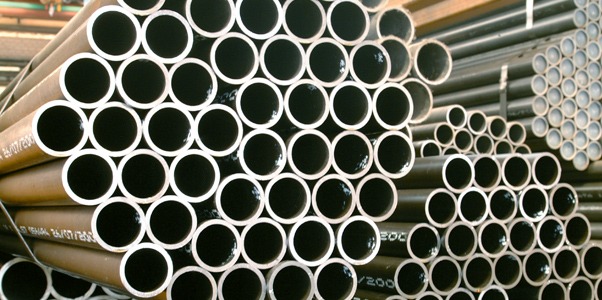
/Carbon steel tubes/Cold-drawn Welded Tubes
COLD-DRAWN WELDED TUBES
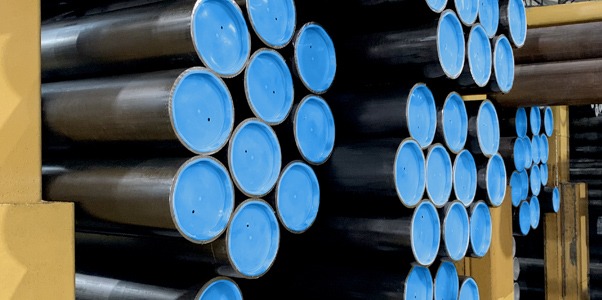
Marcegaglia cold-drawn welded tubes production is carried out mainly within its Boltiere plant, Europe’s largest specialized unit in the sector, as well as in Marcegaglia-Novero plant in Rivoli, Torino. From here, Marcegaglia regularly supplies the world markets with a specialized production program also tailor-made on customer’s needs, guaranteeing specific mechanical properties for each sales sector allowing price optimizations for the customer value chain.
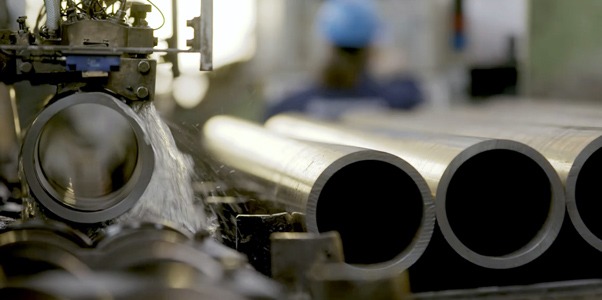
The fabrication process of cold-drawn or DOM tubes (drawn over mandrel) is carried out according to EN 10305 and the production is tested to match standard and specific requirments of the industry sectors for each steel grade.
Marcegaglia Boltiere is the first production plant awarded with four quality certifications. The quality system is ISO 9001 certified, while production for the automotive industry is ISO/TS 16949 compliant. Within a corporate policy promoting waste reduction and environmental safety, the plant has also implemented the ISO 14001 environmental quality system, while workplace health and safety system is ISO 18001 OHSAS certified.
| MANUFACTURING STANDARD |
PRODUCT DESIGNATION |
| EN 10305-2 | Cold-drawn welded tubes |
| SUPPLY CONDITIONS |
|
- Visual and dimensional test 100%
- Eddy current test 100% acc. to EN 10246-3
- Ultrasonic test 100% acc. to EN 10246-7
- Chemical composition
- Impact test
| GRADE | E195, E235, E275, E355 |
| TREATMENT | +C, +LC, +SR, +A, +N |
| SURFACE FINISHING | • Outside diameter and inside diameter:smooth as drawn (EN 10305-2)
• On request: roughness Ra < 0.4 µ |
| DIMENSIONAL TOLERANCE | Structural hollow sections of non-alloy and fine grain steels, hot finished or cold formed and heat treated |
| OPTIONAL PROCESSING | • Drawing in reactive oil
• Dephosphating |
| GRADE | E195, E235, E275, E355 |
| TREATMENT | +C, +LC, +SR, +A, +N |
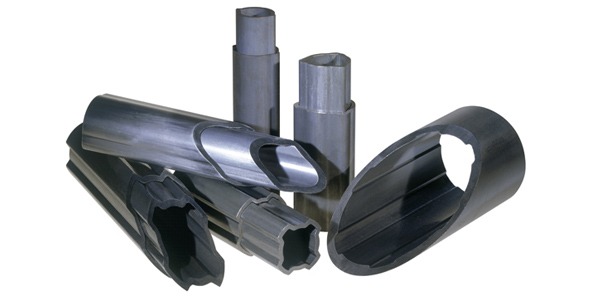
| • Dimensions and shapes developed according to customer specifications
• Surface finish and special tolerances upon request |
 |
| GRADE | E355 |
| TREATMENT | +C |
| SURFACE FINISHING | • Outside diameter:smooth as drawn (EN 10305-2)
• Inside diameter:roughness Ra < 0.80 µ (average 0.50÷0.60 µ) |
| DIMENSIONAL TOLERANCE | • Inside diameter:ISO H9 (ISO H10 for thickness < 4 mm) |
| SUPPLY CONDITIONS |
|
| GRADE | E355 |
| TREATMENT | +SR |
| SURFACE FINISHING | • Outside diameter: smooth as drawn (EN 10305-2)• Inside diameter: with stock allowance (for honing or skiving and roller burnishing) |
| DELIVERY CONDITIONS |
|
| GRADE | E355 |
| TREATMENT | +SR |
| SURFACE FINISHING | • Outside diameter:smooth as drawn (EN 10305-2)
• Inside diameter:roughness Ra < 0.40 µ (average 0.15÷0.35 µ) |
| DIMENSIONAL TOLERANCE | • Inside diameter: ISO H8 |
| DELIVERY CONDITIONS |
|
| GRADE | E355 |
| TREATMENT | +SR |
| SURFACE FINISHING | • Outside diameter: smooth as drawn (EN 10305-2)
• Inside diameter: roughness Ra < 1.6 µ |
|
• Dimensions and shapes developed according to customer specifications • Dimensional tolerances upon customer specifications |
 |
| GRADE | E355 |
| TREATMENT | +N, +SR |
| SURFACE FINISHING | • Outside diameter: with stock allowance (for subsequent reworking)• Inside diameter: smooth as drawn (EN 10305-2) |
| OUTSIDE DIAMETER TOLERANCE | ||
| Outside diameter mm | Wall thickness mm | Tolerance (1/100 mm) |
| 20 ÷ 28 | 2,5 ÷ 4 | +0,15 +0,35 |
| 30 ÷ 38 | 3 ÷ 7,5 | +0,20 +0,40 |
| 40 ÷ 45 | 4 ÷ 7,5 | +0,20 +0,40 |
| 50 ÷ 63 | 4 ÷ 7,5 | +0,25 +0,45 |
| 65 ÷ 75 | 5 ÷ 10 | +0,25 +0,50 |
| 80 ÷ 95 | 5 ÷ 10 | +0,30 +0,60 |
| 100 ÷ 115 | 5 ÷ 12,5 | +0,35 +0,70 |
| 120 ÷ 130 | 5 ÷ 12,5 | +0,40 +0,80 |
| 135 ÷ 140 | 5 ÷ 15 | +0,45 +0,90 |
| 145 ÷ 155 | 6 ÷ 15 | +0,45 +0,90 |
| 160 ÷ 170 | 6 ÷ 15 | +0,50 +1,00 |
| 175 ÷ 185 | 7,5 ÷ 15 | +0,50 +1,00 |
| 190 ÷ 200 | 7,5 ÷ 15 | +0,60 +1,20 |
| 205 ÷ 220 | 10 ÷ 15 | +0,60 +1,20 |


